THE CLASSICS
BREW
GUIDES
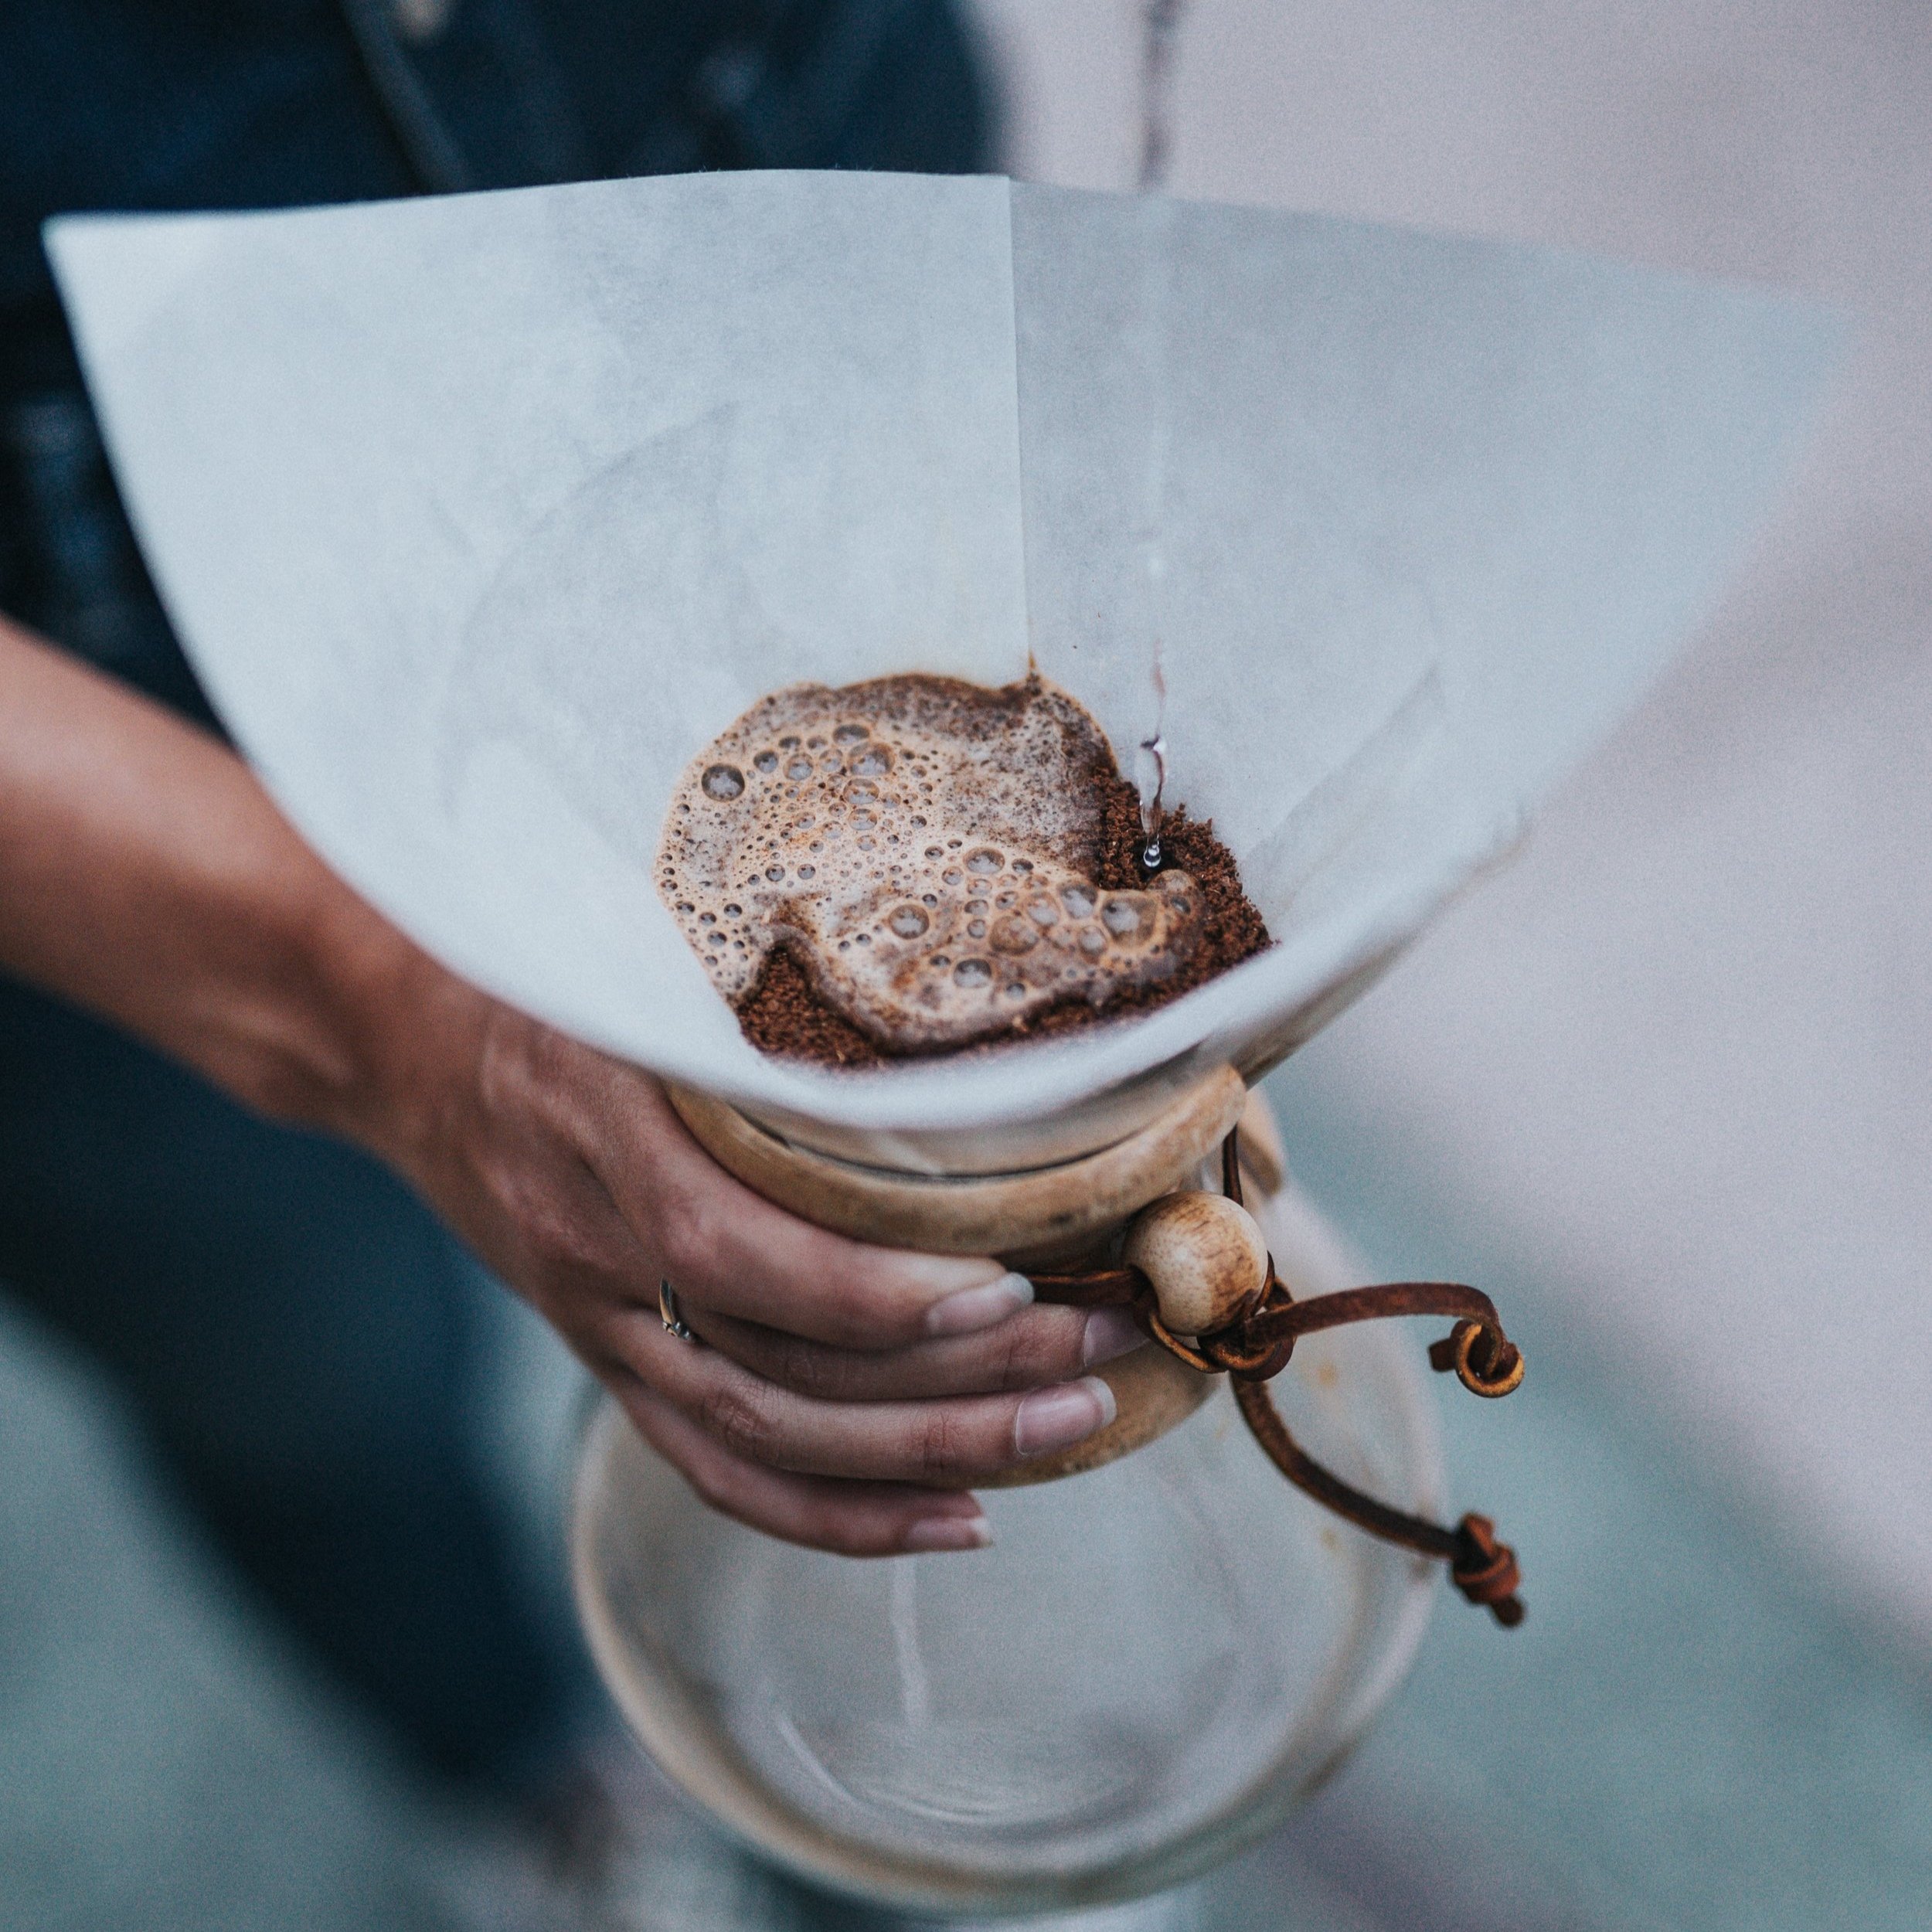
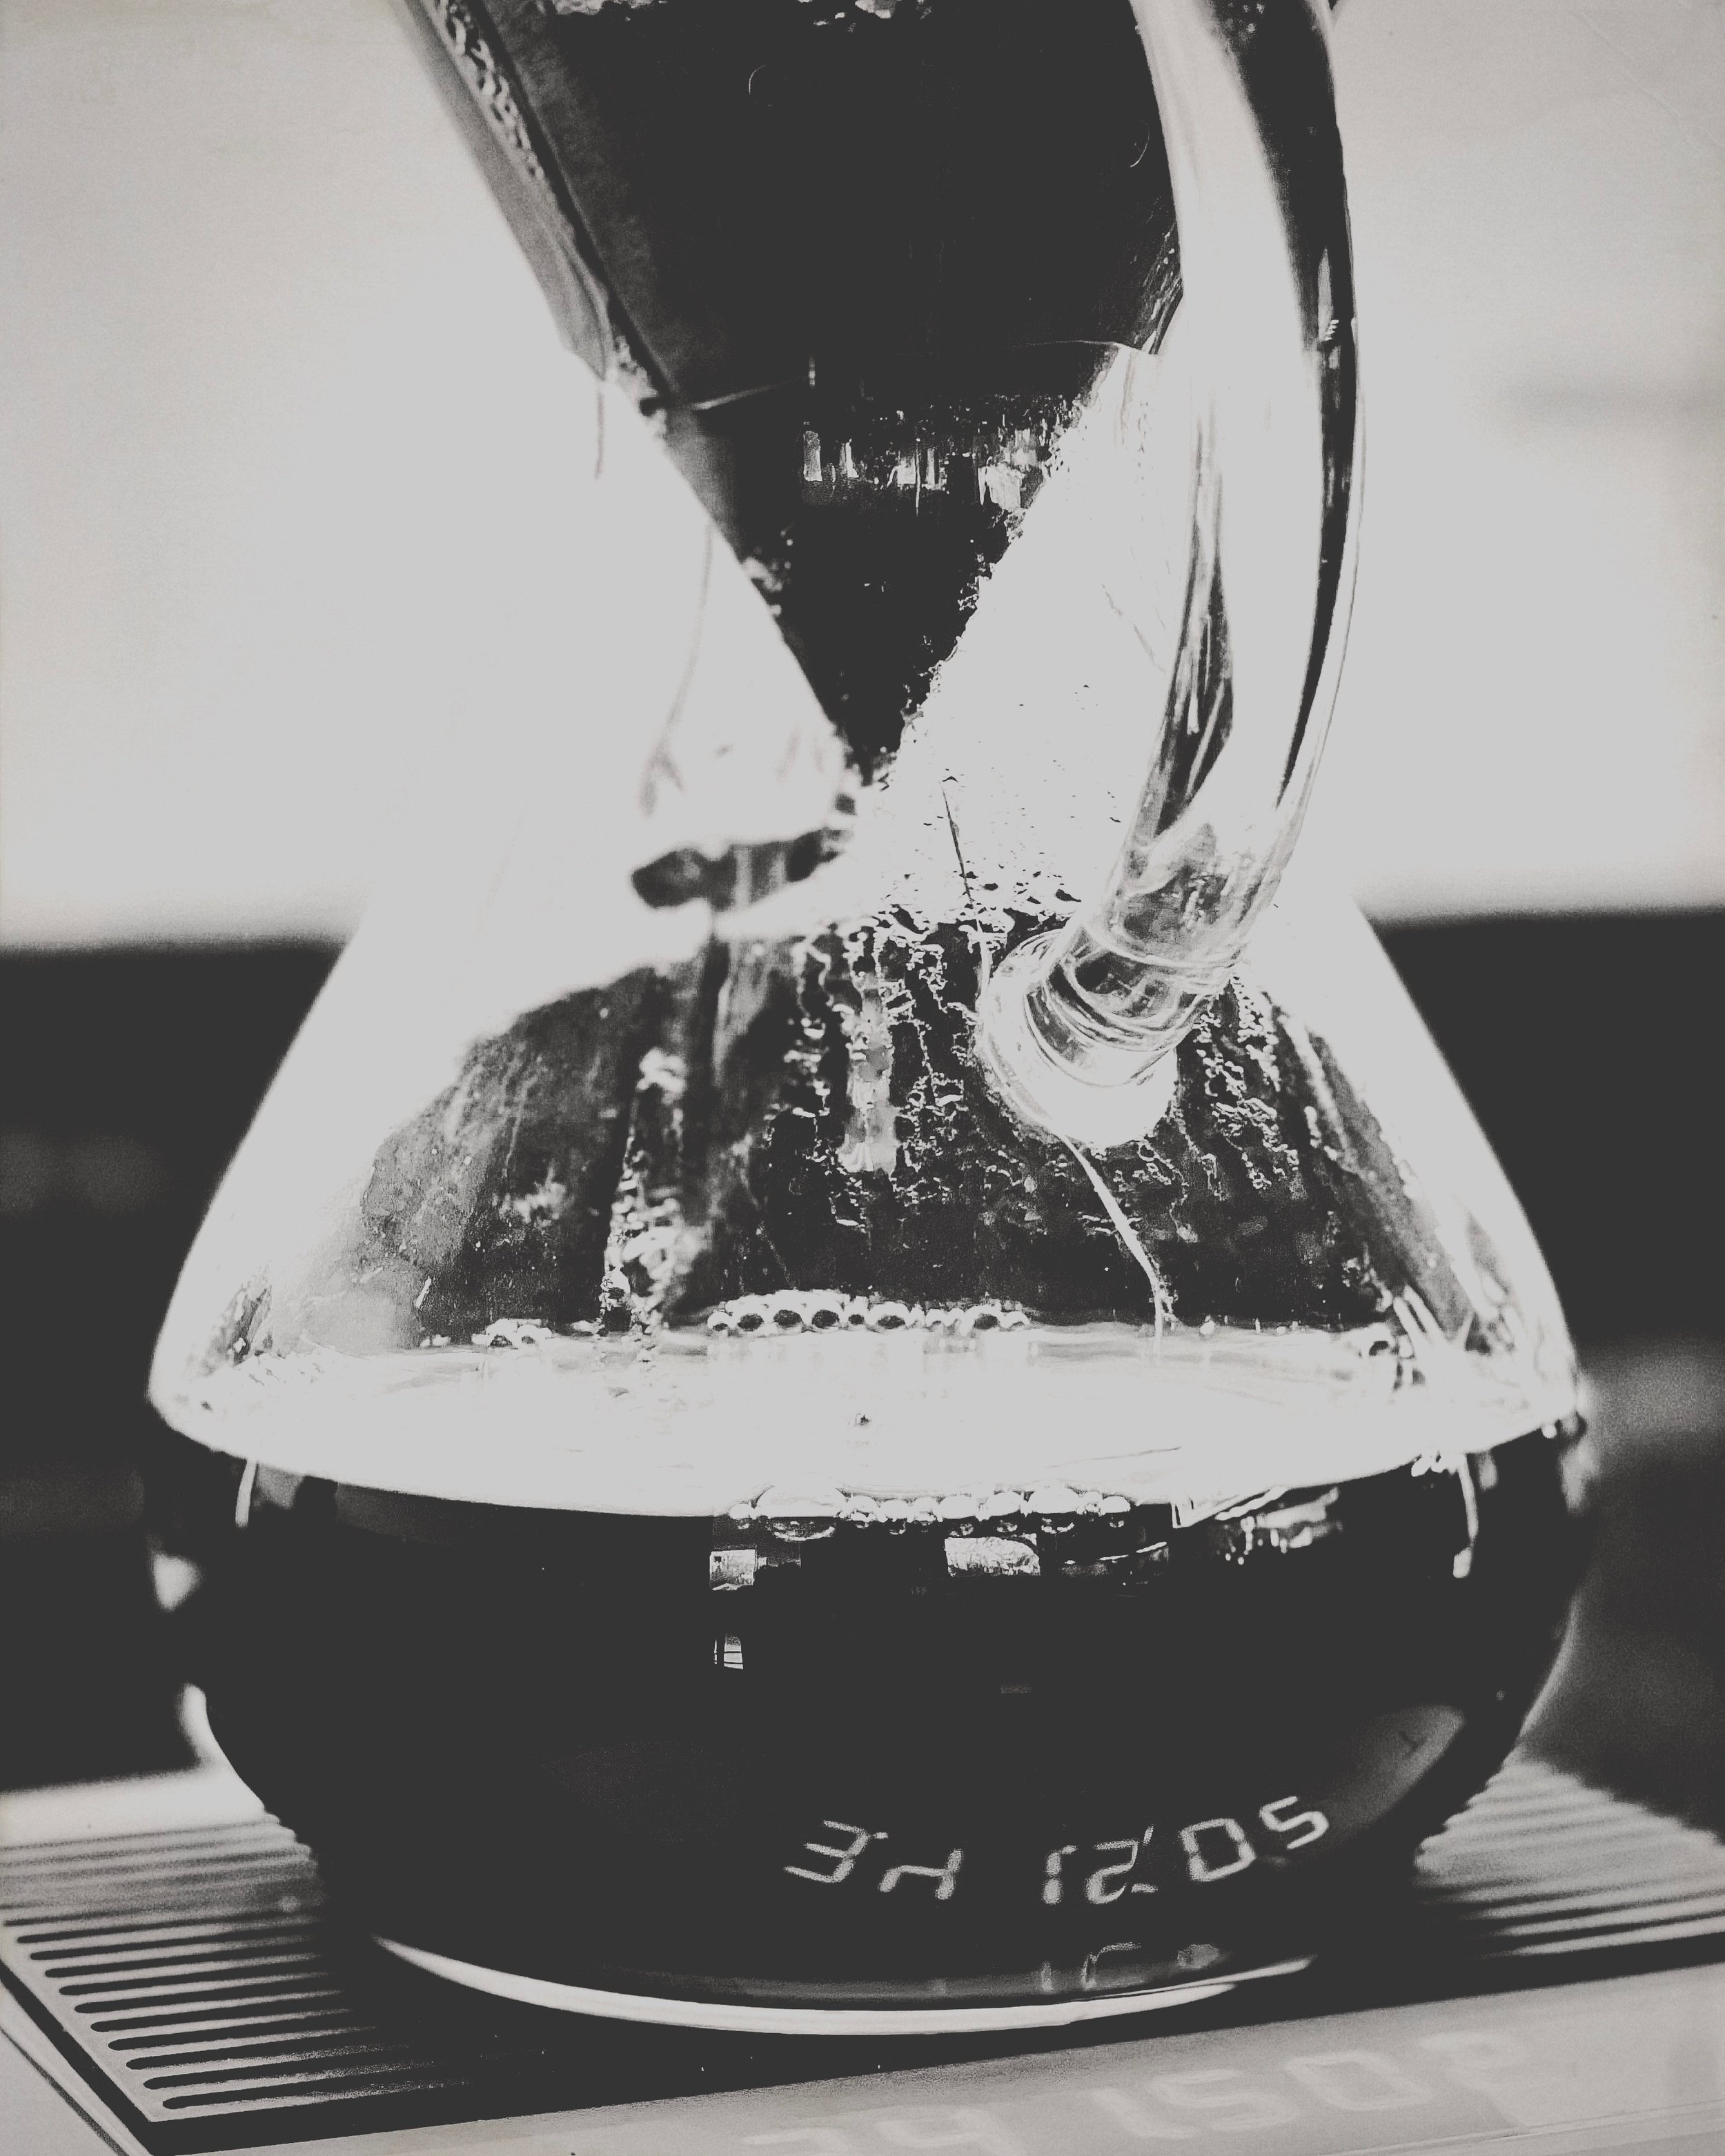
CHEMEX
-
The CHEMEX® coffeemaker was invented in 1941 by the eccentric chemist Dr. Peter Schlumbohm. Throughout his career he developed over 300 patents, ranging from cocktail shakers to automobiles. His focus was on making everyday objects more functional, attractive and enjoyable to use.
When designing the CHEMEX®, Schlumbohm desired to not only make brewing the perfect cup simple, but also to have the vessel be a thing of beauty. Being a chemist, he studied and understood clearly the chemistry behind the extraction of flavor and caffeine from coffee beans.
It was this knowledge that led him to invent the double bonded CHEMEX® paper filters for a perfect extraction every time. For the carafe, Schlumbohm was inspired by the Bauhaus school of design and non-porous labware that would impart no flavor of its own. Using these elements he fashioned the hourglass shape that has now become an iconic part of American history. Made simply from one piece of borosilicate glass and adorned with a wooden collar and rawhide tie, the CHEMEX® is pure in both form and function. It has been recognized and awarded by both the scientific community as well as the art and design communities. The CHEMEX® can be found in museums throughout the world and is included in the permanent collection at the Brooklyn Museum, Corning Museum of Glass and MOMA, NY.
(From the Chemex Coffeemaker website)
-
Though CHEMEX built a small “bump” onto the side of the glass to indicate half capacity (full capacity is the bottom of the collar), consistency and precision requires a scale—preferably to .1g.
The ratio we recommend is 30g coffee to 500g water (roughly 1:16). For 2 people or a larger mug, we use 36g/600g or 42g/700g.
While you can brew as much as your water kettle allows, we find there is eventually a point of diminishing returns.
-
The grind needs to be on the coarser side. This is due to the thick filter, which slows the drip, and the flat sides of the CHEMEX, which further slows the drip. If the grind is too fine, the brew will choke.
On the Fellow Ode grinder (gen 1 burrs), we use a 6.1 setting for most coffees, and a notch or two coarser for slow coffees, like Ethiopians. (Gen 2 burrs we start at 9.)
-
These instructions are for the 30g/500ml amount. You will need a scale and a timer.
Once the water is good and hot (209-210F), place a CHEMEX filter into the brewer and rinse it with the hot water until the paper is fully wet and the glass is hot to touch. Dump the water. Grind the beans and add to the filter. Tare the scale.
We will do 4 pours in total. The first pour is for the bloom (to allow the grounds to offgas the remaining CO2).
Start your timer.
(1) Pour 60g water, rather rapidly creating some agitation. Let the coffee bloom for 45 seconds. If the coffee is still fresh, you should see some bubbling, like the mud pots at Yellowstone.
(2) Slowly and from a height in circular motions, pour to 250g. A higher pour will cause less agitation, which is what we want here. Let drip nearly through.
(3) Pour to 375g. Same deal.
(4) Pour to 500g. Once fully dripped, the bed of grounds should be flat and there should be no grounds caked to the sides (other than the fines (which is fine)). Total brew time should be around 5 minutes.
And that’s it! The best part of the CHEMEX is the clean up. Just toss that filter in the compost or trash.
For a 36g/600ml brew, use these pour markers: 75g (bloom), 250g, 425g, 600g.
-
Often people will complain about a sour cup when brewing with Chemex. This is caused by under-extraction. When grinding coarse, there will inevitably be more “boulders” in the grounds, no matter the quality of the grinder. If these are left in the grounds (which they typically are unless sifted out), they will be under-extracted compared to the smaller sized grounds, thus imparting a sour, grassy taste to the cup.
To mitigate this, we must be certain to brew in a way to optimize extraction: (1) this means very hot water—209-210F; (2) heat the brewer sufficiently before brewing so that the glass doesn’t pull heat from the initial pour; (3) pour in smaller amounts to keep the slurry temperature up, rather than one long pour; (4) keep all of the grounds in the action and don’t allow any to climb the sides of the brewer.

HARIO V60
-
The Hario V60 is iconic. It’s design is unique with its spiraling ribs and wide opening to encourage water flow. And like all things Hario, it is a beauty of design. It comes in a variety of sizes (01, 02, 03), materials (ceramic, plastic, copper, metal, glass), and colors (white, red, black, turquoise, purple, pink, you name it), but perhaps the most popular is the white ceramic 02 model.
It is important that you use real Hario filters with this dripper, as they have a particular cone shape and thickness and fibrous weave.
-
While there are many methods for brewing with the V60, we’ve found the Tetsu Kasuya 4:6 method the most reliable and easy to replicate. So that’s what we’ll be doing here.
You’ll need 20 grams of coffee and 300ml water.
-
Grind to a coarse medium grind. Each drip should take 45 seconds. If it’s too fast, grind finer; too slow, coarser.
-
Before brewing, make sure you get the brewer properly hot. Pour water through the filter and brewer while holding the side with your other hand, and when you feel the heat, it’s ready. If it’s not hot, it will zap heat for the brew. This is one advantage the plastic model has over the ceramic.
Start with a pour of either 40ml or 60ml of water for the bloom. The idea behind this method is that the amount of the first two pours determines the acidity and sweetness in the resulting cup.
After 45 seconds, pour to a total of 120ml.
After 45 more seconds (at 1:30), pour 60ml. (Total 180ml.)
After 45 seconds (at 2:15), pour 60ml. (Total 240ml.)
And, yep, you guessed it, after 45 seconds (at 3:00), pour your final 60ml, for a grand total of 300ml.
-
Again, if the water is not finished dripping after each 45 second interval, your grind is too fine. If the water drips too quickly, grind a bit finer.
We like to give the V60 a gentle swirl after each pour to ensure that the coffee bed is flat in order to prevent any unwanted channeling.

FRENCH PRESS
-
A French press, also known as a cafetière, cafetière à piston, caffettiera a stantuffo, press pot, coffee press, or coffee plunger, is a coffee brewing device, although it can also be used for other tasks. In 1923 Ugo Paolini, an Italian, filed patent documents relating to a tomato juice separator and he developed the idea of making a coffee pot with a press action and a filter. He assigned his 1928 patent to Italian designer Attilio Calimani and Giulio Moneta who filed it in 1929.
Over the years, the French press has undergone several design modifications. The first coffee press, which may have been made in France, was the modern coffee press in its rudimentary form—a metal or cheesecloth screen fitted to a rod that users would press into a pot of hot water and coffee grounds. Two French inventors (Mayer and Delforge) patented in 1852 a forerunner of the French press. A patent was filed by a Frenchman, Marcel-Pierre Paquet dit Jolbert, officially published on August 5, 1924.
A coffee press was patented in the United States by Milanese designer Attilio Calimani in 1929. It underwent several design modifications through Faliero Bondanini, who patented his own version in 1958 and manufactured it in French clarinet factory Martin SA under the brand name Melior. Its popularity may have been aided in 1965 by its use in the Michael Caine film The Ipcress File. The device was further popularized across Europe by British company Household Articles Ltd. and Danish tableware and kitchenware company Bodum.
The modern French press consists of a narrow cylindrical beaker, usually made of glass or clear plastic, equipped with a metal or plastic lid and plunger that fits tightly in the cylinder and has a fine stainless steel wire or nylon mesh filter. (Wikipedia)
-
As with all immersion methods, we need to use more coffee per water.
Use a 1:13 ratio. 1g coffee per 13ml/g water.
Feel free to tweak this, but you’re likely to find the 1:16 ratio used for percolation to be too thin and weak.
-
Coarse. Not Cold Brew coarse. Not the coarsest setting on your grinder, but coarse enough so that the screen filter on your French Press is able to do its job and trap the grinds.
Over the years I’ve gone closer and closer to medium, and everything has been okay.
-
Heat up the carafe first, so that it doesn’t immediately steal heat from the water and your brew.
Then just pour the water you need. No need to bloom here, though you may want to account for that time in your total brew time.
After all the water is poured, start the timer for 4 minutes (this is accounting for what would be a bloom—the last of the CO2 banished from the depths of the coffee grinds so that water can enter).
After a minute or so, give the brewer a gentle swirl or use a spoon to gently submerge the cake of floating grinds so that they too will extract.
Cover the French press with the press part to keep the heat in.
-
After 4 minutes, slowly press the press.
Drink. Enjoy.
-
Too silty? Try using a coarser grind. Also, during the press down, don’t press the whole way down, as this can disturb the bed of grounds that have sunken to the bottom.
Weak or sour cup? Double check your ratio: use a 1:13 ratio. Also, the grind may be too coarse.
Broken your Bodum glass carafe again, like I do every 4 months? You can order replacements, though it can be cheaper to go to TJ Max and just get a cheap knock-off brewer and switch the carafes.

COLD BREW
-
Cold brew coffee is slow-extraction immersion brewing, taking between 12-24 hours using cold or room temperature water. It’s low in acid (66% lower than hot brewed coffee), sweet, and refreshing. It is incredibly simple to make and you don’t need a dedicated brewer. In fact, we use just use a mason jar and one of our pour over drippers to filter the grounds.
-
For ready-to-drink cold brew use around a 1:16 ratio. 30g coffee and 500ml water is a good starting point for one cup.
-
As coarse as your grinder goes. Though, this is a pretty forgiving component. If you miss the 12 hour window (which happens all of the time here), try a medium grind for a quicker steep.
-
Combine the coffee and water in a mason jar or other vessel (I once used a mixing bowl out of desperation) and let it steep at room temperature for 12 hours or refrigerated for 24.
After the waiting is over, filter the grounds by whatever means possible. I prefer to pour it through my Chemex or V60. Because of the paper filter, the oils will be filtered out leaving cleaner coffee. If you prefer to keep the oils, filter using a French press.
After all the water is poured, start the timer for 4 minutes (this is accounting for what would be a bloom—the last of the CO2 banished from the depths of the coffee grinds so that water can enter).
After a minute or so, give the brewer a gentle swirl or use a spoon to gently submerge the cake of floating grinds so that they too will extract.
Cover the French press with the press part to keep the heat in.
-
Too weak? Increase the amount of coffee.
Too bitter? Grind coarser and steep longer.
-
For an even sweeter taste, make a concentrate. A popular maker is Toddy, which in this case is convenient because of the large quantity—1 pound of coffee and 9 cups of water. Dilution is 1 part concentrate, 2 parts water.
Also, try adding spices or herbs to jazz up the cold brew. Vanilla, lavender, orange peel, allspice all work pretty well. Experiment!